


blog
7 easy steps to create the perfect gallery wall
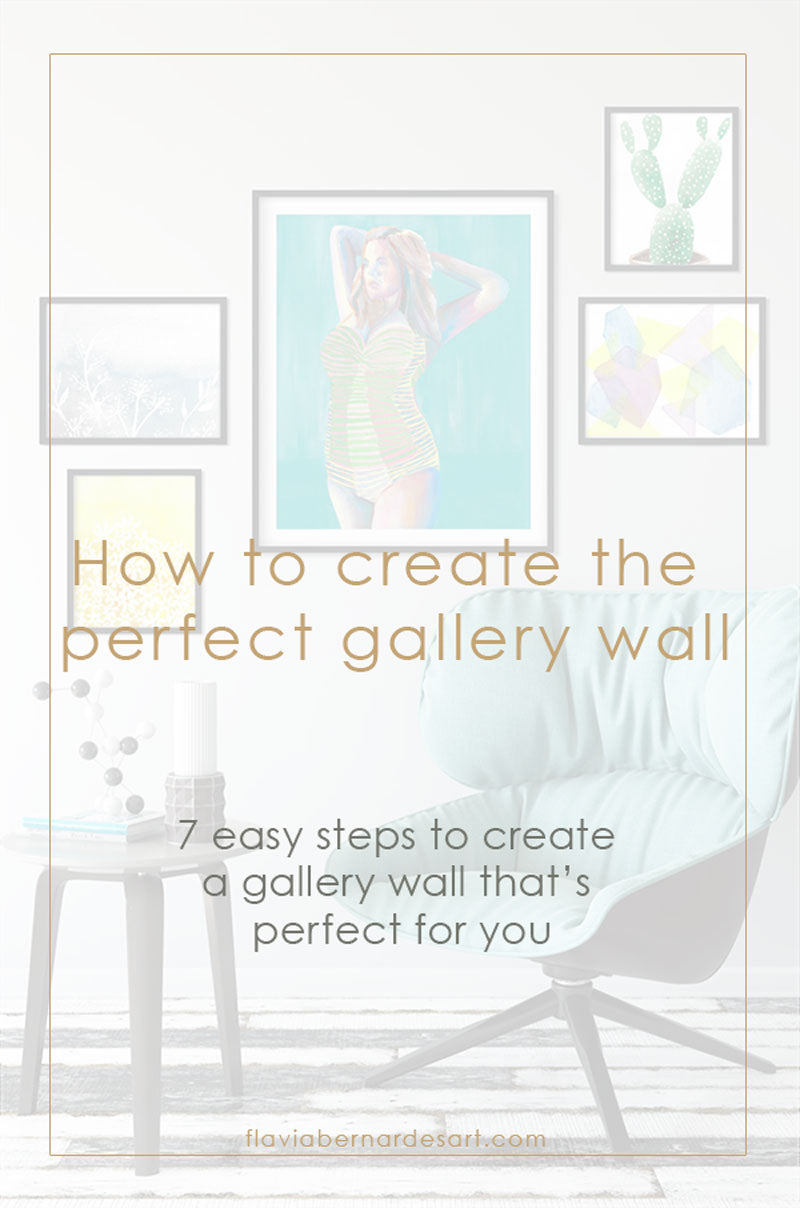
Ever spent hours scrolling endlessly through pictures in a Pinterest daze trying to figure out how to create one of those drool worthy gallery walls you see there all the time? You know the one. You can see it on your wall, you know where it will be hung, you can picture yourself having tea right next to it, but you still don’t have a clue how to put it all together. So you decide to take an innocent peek online and 5 hours later you are now cranky because you’ve just realized you skipped lunch and still no sign of a single painting on your wall. If that hit a little too close to home, I’ve got just what you need: 7 easy steps to create the perfect gallery wall + a free gallery wall starter kit loads of layout ideas to inspire you.
STEP 1: CONSIDER YOUR SPACE
Where are you hanging your gallery wall? How much space do you have? What color walls do you have? What’s the room furniture arrangement? Will it hang above your sofa, armchair? You want to create a sense of balance in your gallery wall and considering the space where it will be hung is the first step to make sure you create a drool worthy gallery wall.
STEP 2: WHAT'S THE FEELING YOU'RE GOING AFTER?
Do you want to create something peaceful? Feminine? Bold? Dramatic? Whether we realize it or not, we all do things in order to feel a certain way. How do you want to feel when you enter a room? Cozy? Relaxed? Energized? Keeping that in mind will help you pick the right art and frame for your gallery wall.
STEP 3: CONSIDER YOUR STYLE
Do you like bright or muted colors? Black and white or rainbow and glitter? Love photographs or watercolors? Do you crave symmetry or tend to like things just a little off? No matter what direction you choose, make it your own. Don’t be afraid to experiment and add your own personal touch, like framing something that is unique and special to you. Maybe a note from a loved one, your kids drawings, or that ticket stub from your first date with your beau. When mixed with artwork and the right frames, you can create something magical.
STEP 4: ARTWORK
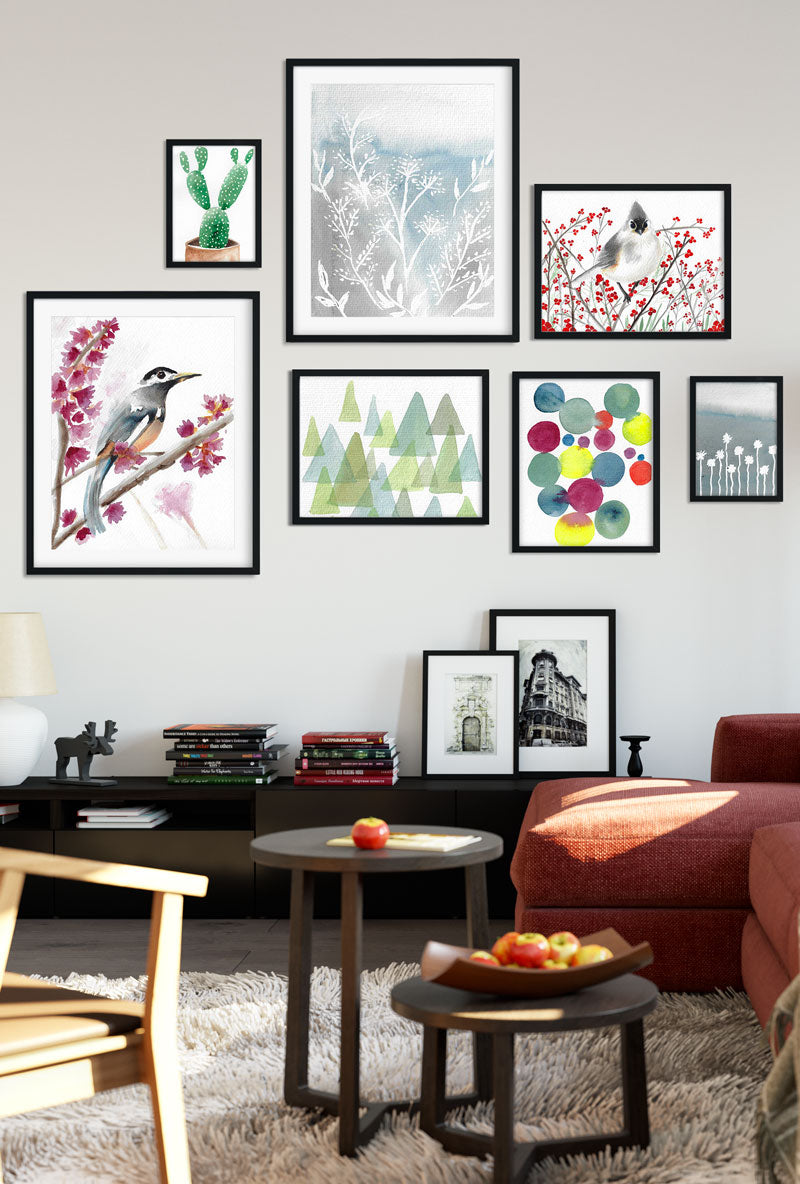
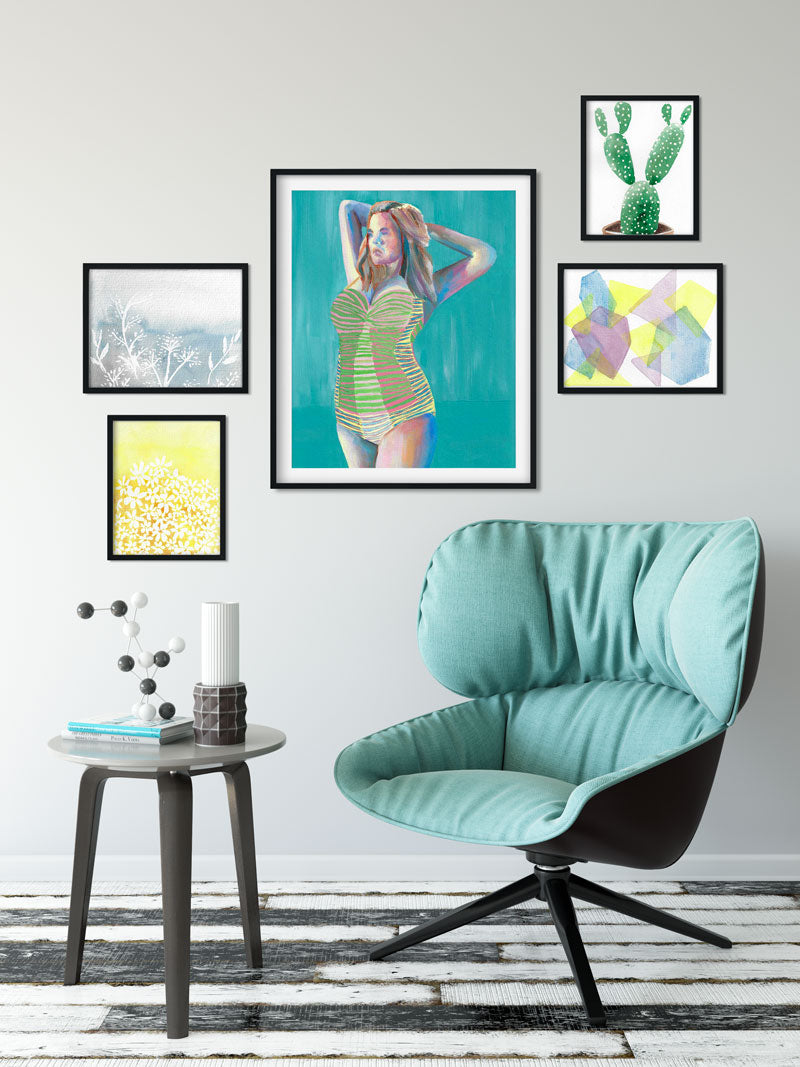
Do you have a favorite artist, style or medium? Start with one piece you love and go from there. You can choose to make your gallery with a specific theme or make it as eclectic as you like. An entire wall with watercolors can be just as fun as one with mixed media.
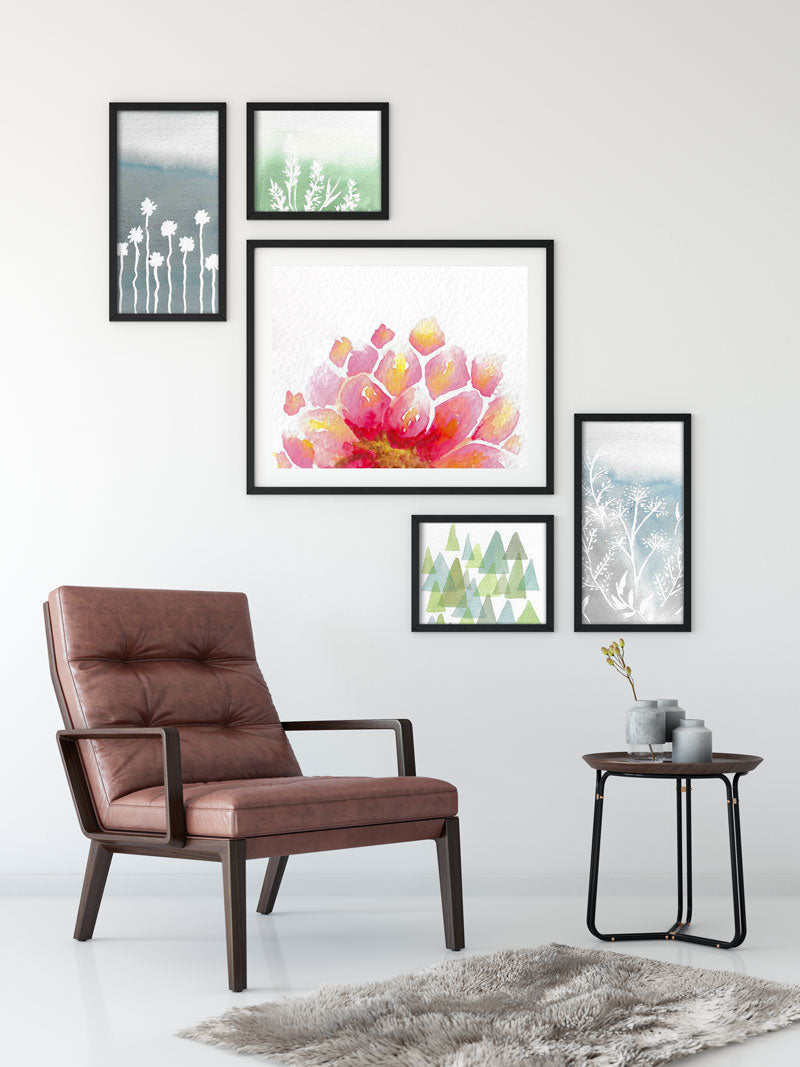
Tip: Start with the largest item first and use it as the focal point. You want to find a sense of balance to make your gallery work, so start with the largest piece and work from the center out. Also, try spacing your artworks at least 1¼ inches (3 centimeters) apart to make each piece stand out on its own. Try to keep the overall pattern balanced against other furniture or centered in a room.
STEP 5: FRAMES
Your style again plays a big role when it comes to frames. Do you like modern or rustic? Do you want to give emphasis to your artwork, or create a more dramatic effect with the frames themselves? You can choose one or the other, or mixed them and create something that is truly true to your style.
 
|
7 easy steps to create the perfect gallery wall |
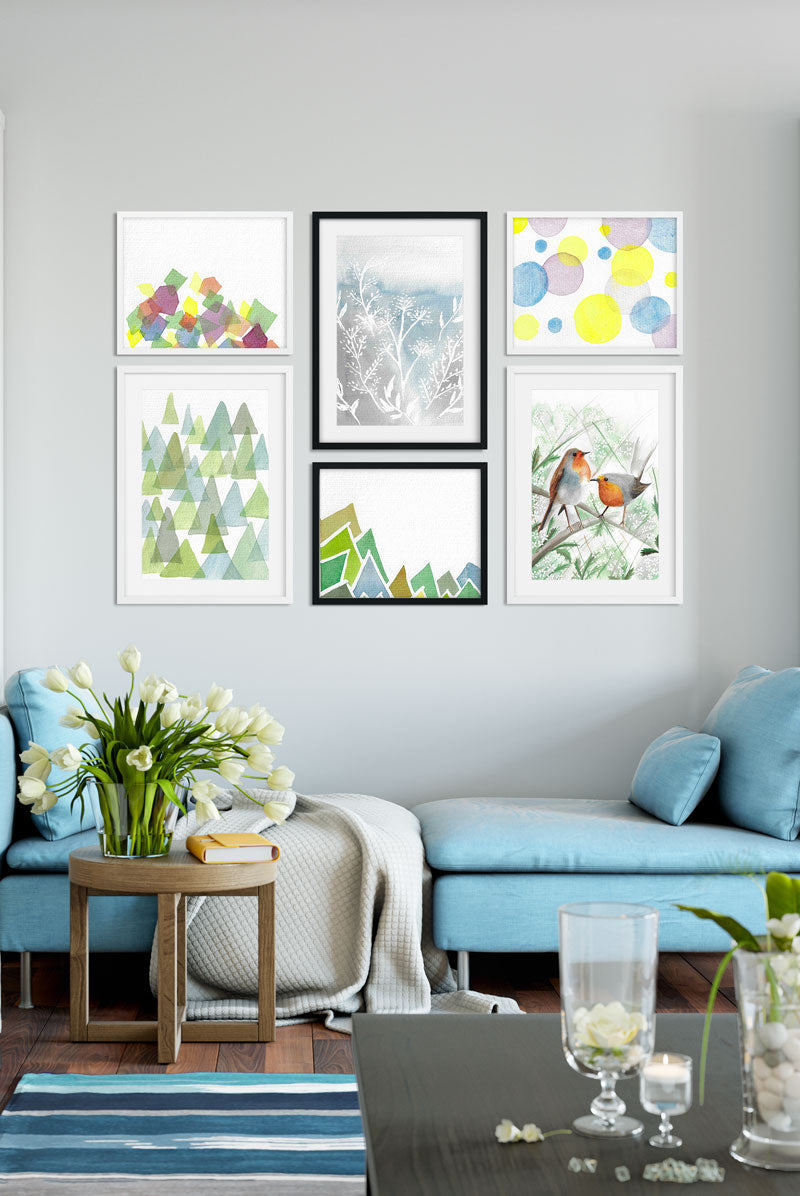
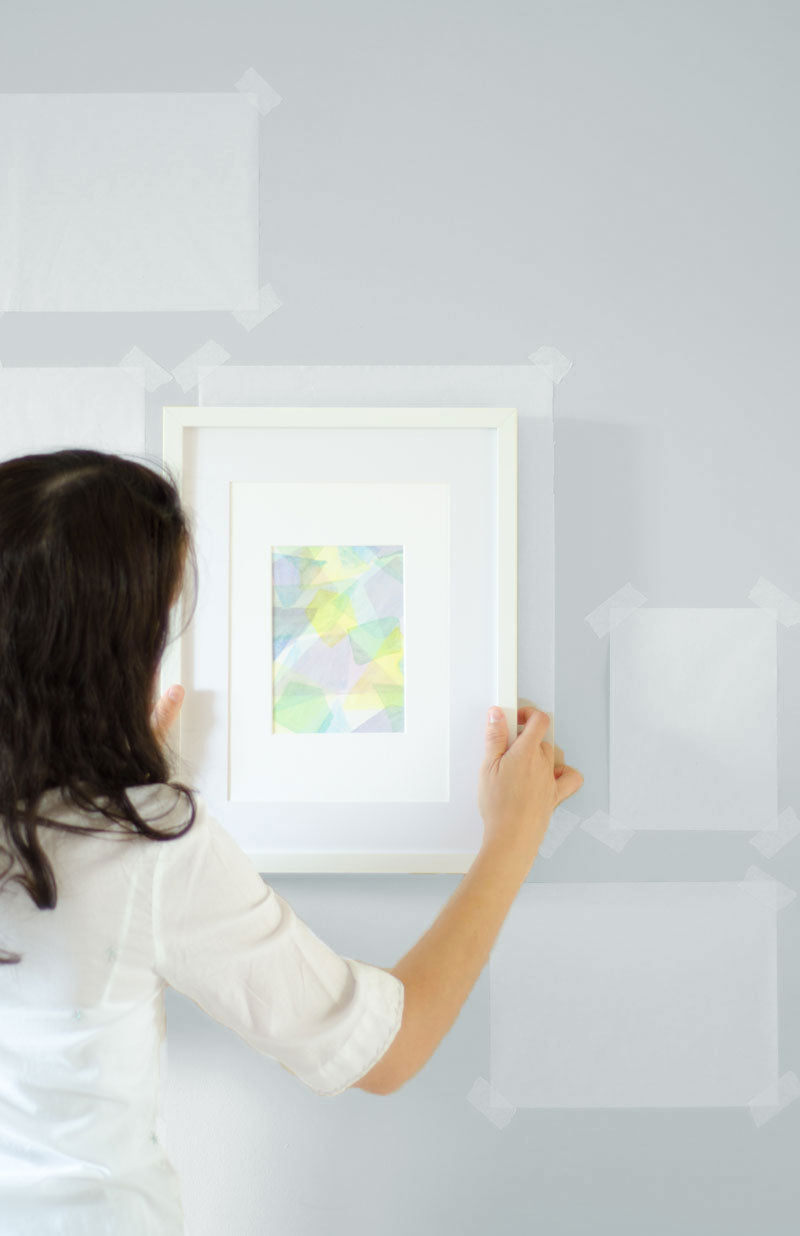
STEP 6: LAY IT OUT
Lay the art out on the floor and cut pieces of paper to the size of each piece. Using masking tape, position the paper on the wall as you would the art, then try a few different arrangements until you’re happy with what you see.
If you’re having a hard time deciding on the best layout, try taking a picture with your phone when you have something you like. Then make another arrangement. If you do this a few times, you’ll have lots to choose from and it will make it easier to decide which one you like best.
Try varying where you place similar types of artwork. Space out those pieces, so they don’t look cluttered, or clumped together. Ask yourself, does it work well with nearby furniture? Is it at a comfortable height? Does it fill the space nicely? Keep in mind the proportion of art to the size of your wall and vice versa.
Once you find a layout you’re comfortable with, lay your art on the floor in front of the wall and see if it still makes sense for you. Do the pieces you chose work well together? If so, get ready for the next and final step.
Tip: If you have similar sized pieces, don’t put the artwork into the frames until it’s hung. That way you’ll have more flexibility with the composition and will be able to switch them out as needed.

STEP 7: HANG OUT
Now that you found the perfect composition, hanging your gallery wall is a super easy. Leave your mocked layout on wall and mark each paper with a spot where the nail will be placed. With the paper still on the wall, hammer it directly into the mark on the paper, removing it when your nail is in place. Then just place your artwork and enjoy your brand new gallery wall.
Shop this print
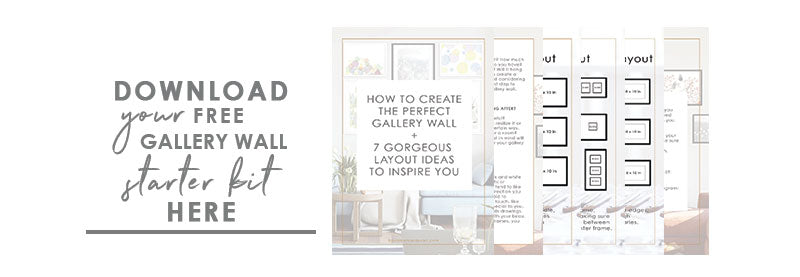
Feeling inspired to create your own gorgeous gallery wall? Make sure to download your FREE gallery wall starter kit below. It’s got lots of tips and layout ideas to make sure you create a gallery wall that’s perfect for you. You can also click here to shop prints for your gallery wall.
P.S.: Leave a comment below saying what’s your favorite layout idea. I'd love to hear your feedback :-)
Leave a comment...
Your email address will not be published.